For one of my projects, I have been very busy with pinhole photography. At the time I was very interested in finding the essence of art, or at least the core of certain topics and techniques. Simultaneously, I wanted to get deeper into the art of photography (analogue photography in particular). I happened to be familiar with pinhole photography already, so I decided to focus completely on that for a certain period. In this blogpost I will explain more about this technique of photographing and what I learned during this project.
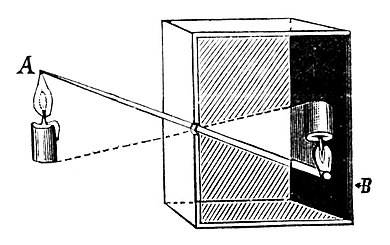
Firstly, I want to give a brief history about pinhole photography and explain how it works. It all started with the camera obscura, which gained popularity around the 17th and 18th century. The camera obscura is a dark room with a hole in one of the walls (the “lens”). Light comes into the room through this hole and will project an upside-down image of the outside world on the opposite wall (see the image below). Later, this room turned into a box and in some cases even a mirror was added to refract the image to the top of the box. It is said that famous painters like Caravaggio (1571-1610) and Johannes Vermeer (1632-1675) used a camera obscura for their paintings.

The pinhole camera works in the same way as a camera obscura, the only difference is the fact that the upside-down image is captured. This is done by placing a light sensitive surface (like photo paper or a roll of 35mm film) on the opposite wall of the hole.
A normal camera has three elements which have to be thought about while taking a photo: the aperture, the ISO (or ASA) and the shutter speed. The aperture is the size of the lens, the hole of the camera. The ISO/ASA is the sensitivity of the light sensitive paper in the camera. These two decide the shutter speed for the photo: how long do you have to leave the lens open to take a picture.
A pinhole camera also has these three elements. The size of the hole in the camera is the aperture and the ASA of the 35mm film that’s in the camera is also set. The only variable in a pinhole camera is the shutter speed. This is always difficult to predict. Of course, there are certain guidelines depending on the weather and the general lightning of your photograph, but each pinhole camera is different. In the following part I will explain more about my pinhole cameras.
The first pinhole camera I worked with was made from a soup can. It was a large camera and the light had to travel considerately far before landing on the 35mm film. This caused the shutter speed to be very long for most of the pictures (around 10 to 20 seconds). I used a piece of tape as the shutter for this camera. Unfortunately, this type of shutter left some glue in the lens which caused the pictures to be more and more blurry the longer I used the shutter. The first roll of colour film I used on this camera had very unusual colours (a lot of magenta and cyan), so it was a shame that the pictures were too blurry. I set a new goal: to make my pinhole camera in such a way that the images are sharp, but the colours are as unrealistic as they were in that roll of film.
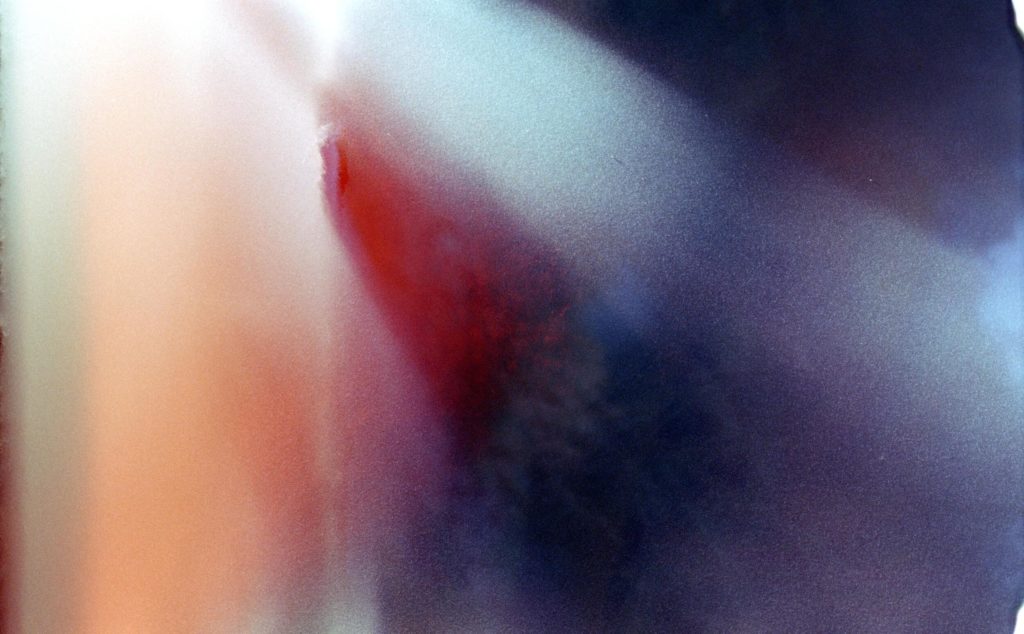
The next thing I did was making a new camera out of cardboard, I gave this camera a lens made from tinfoil (it was the only way to make a hole small enough to actually produce images). The pictures were very sharp for a pinhole camera, they almost looked like they were made with a regular analogue camera. This was very cool to see, but not what I was aiming for. I decided to replace the tinfoil lens with a lens made from the material of a soup can. I made a lot of pictures with this new camera, some of which turned out very abstract by accident (see the picture below for an example).

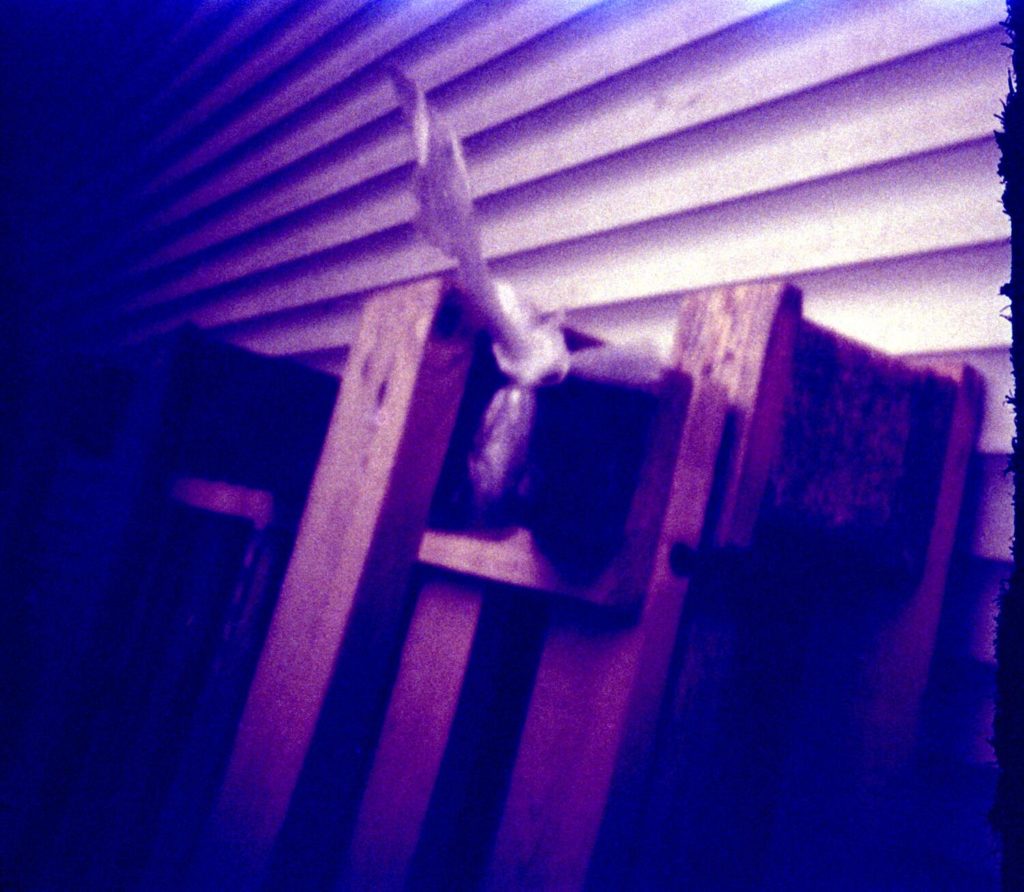
After a lot of experiments with this camera, I decided to grab back to my soup can camera. I cleaned out the lens and shot two rolls of film. These pictures came out exactly the way I wanted: considerately sharp (given the fact that I still had to use a long shutter speed) with very unrealistic and beautiful colours (see the picture below for an example).

After half a year of experimenting with pinhole photography, I have learned a lot about this topic. I mainly focussed on getting to know this technique and creating a style of photographing that works for me. While photographing I didn’t think about what I wanted to capture. I mostly just went for a walk outside to get to know my camera and photographed what I noticed. This kind of discovering is something that really stuck with me, and I want to do this more and more in the future. I also got excited every time I noticed something in my area that I’ve never seen before, the feeling that I just discovered something that nobody really noticed before. I want to integrate this feeling of excitement in my work and give my audience the same feeling when discovering (for example) my sculptures.
17 August 2021
Thanks for your blog, nice to read. Do not stop.